How to Use a Moka Pot: A Complete Guide with the Perfect Coffee Recipe

If you are looking at your Moka pot and wondering where to start, or if the coffee you brew tastes bitter and burnt, then this guide is for you. Let’s find out what a Moka pot actually is and how to use it correctly. We will also look at a step-by-step method for brewing a cup of coffee that will shake off all your sleepiness and help you start the day on a great note.
What Is a Moka Pot?
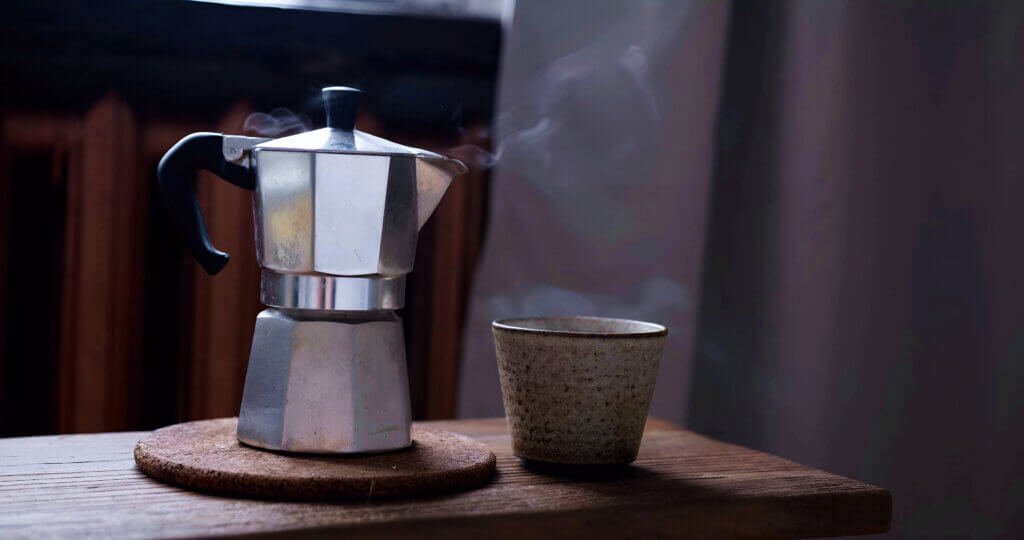
The Moka pot was invented by Alfonso Bialetti in Italy in 1933, and the design has barely changed since. It’s a kind of stovetop brewer that works by pushing pressurized hot water up through a chamber of ground coffee. As a result, we get a strong, concentrated brew, not quite espresso, but far bolder than drip coffee.
The Moka pot comes in three parts: a bottom chamber that holds the water, a middle filter basket that holds the ground coffee, and a top chamber where the brewed coffee collects. It’s really simple, elegant, and incredibly reliable when we use it properly.
What You'll Need
Before we go through the process of using a Moka pot, we need to gather these things:
- A Moka pot (any size, 1-cup, 3-cup, 6-cup, etc.)
- Freshly ground coffee, medium-fine grind
- Filtered water
- A stovetop or induction adapter
- A towel or oven mitt
- Lastly, your favourite mug
How to Use a Moka Pot: Step-by-Step
Step 1: Preparing Hot Water
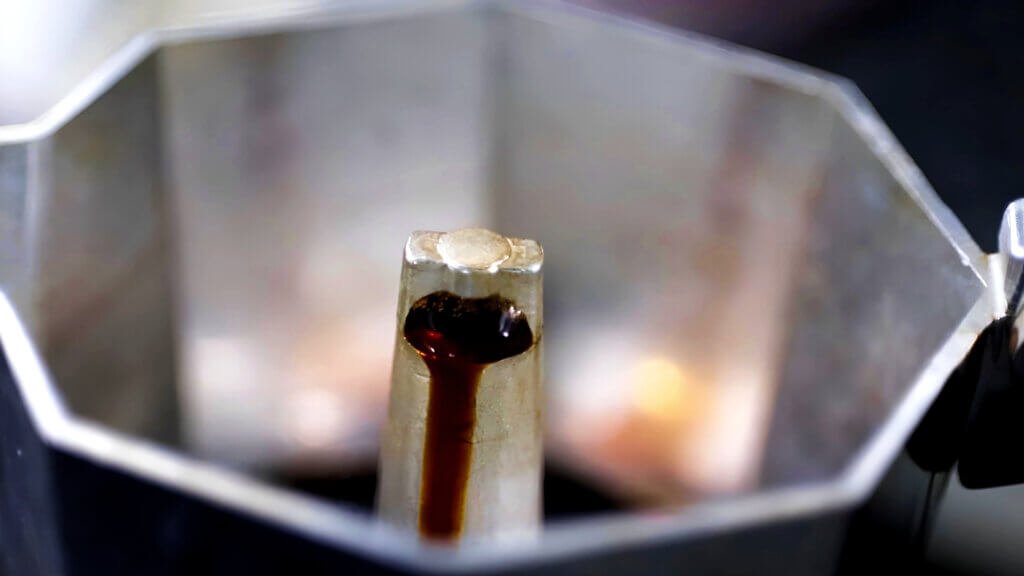
This is the single most important tip most people skip even though some people use normal water instead of hot water. We need to fill the bottom chamber with hot water up to the safety valve line. Be aware that you should never cover the valve.
Why hot water? If you use cold or normal water, it takes longer to heat up, and keeping it on the stove for too long causes the coffee grounds to cook rather than simply brew. This is why Moka pot coffee tastes burnt and bitter. Starting with hot water saves a significant amount of time and preserves the flavor.
Step 2: Add the Coffee
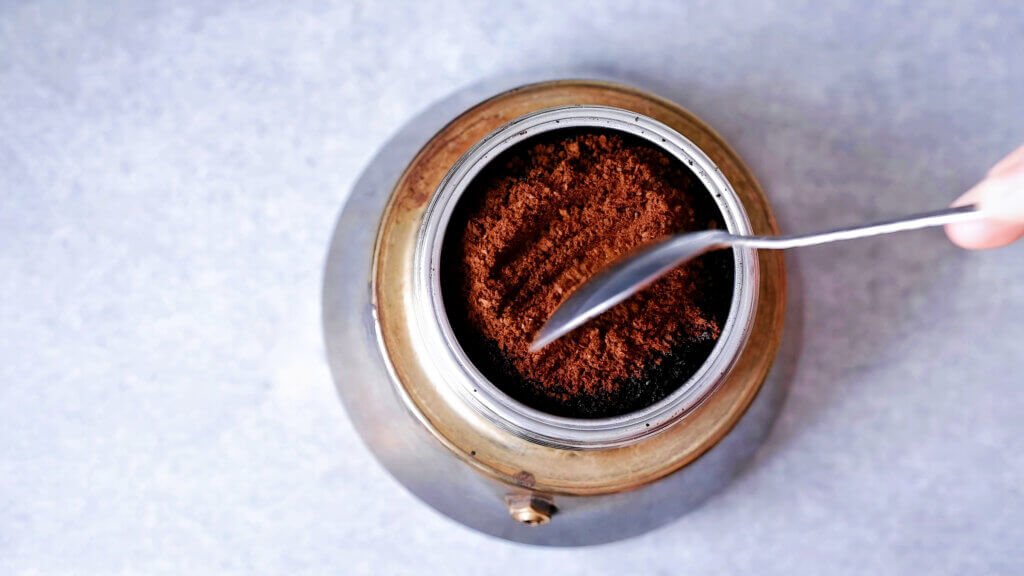
After preparing hot water, we need to fill the filter basket with medium-fine ground coffee. You don’t need to pack it down like you would with espresso. You just need to fill it loosely and level it off with your finger or a small spoon. The grind should be slightly finer than that for regular drip coffee, but not as fine as for espresso.
Step 3: Assemble the Pot
Now, firmly join the top and bottom parts together. Be careful about the hot water in the bottom chamber, as it can burn your hand, so use a cloth to hold it while you tighten the top. Just make sure it’s sealed properly or you’ll have a very messy stovetop situation.
Step 4: Heat It on Low to Medium-Low
Now carefully place the Moka pot on your stovetop over low to medium-low heat. This is another common mistake: people crank up the heat thinking it’ll speed things up. But in reality, high heat causes the water to boil too aggressively, which forces steam through the coffee too fast, destroying the flavour compounds and scorching the brew. Also leave the lid open so you can watch the coffee as it rises.
Step 5: Listen and Watch
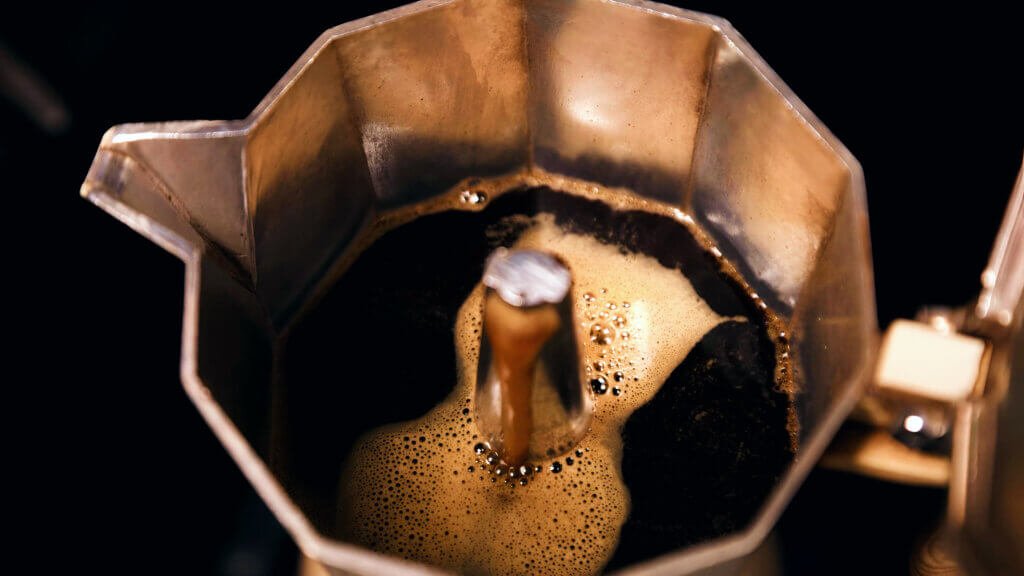
Within a few minutes, you will see the coffee gradually rising into the upper chamber. It should come up in a steady, dark stream. When the color of the stream shifts from dark brown to light golden and it begins to sputter, that is when you know the time has come. The extraction process has been successfully completed.
Step 6: Remove from Heat Immediately
Now carefully take the pot out of the heat as soon as you hear that sputtering sound. Anyway, there is no need to wait until it is completely empty. In fact, that very last bit of liquid is nothing but steam and the bitter taste resulting from over-extraction. And we are sure that’s not what you want.
Now we need to stop the extraction process. To do this, hold the bottom of the Moka pot under cold water for a few seconds. Then pour the coffee immediately into your cup and enjoy every sip.
The Classic Moka Pot Coffee Recipe
We would like to share with you the famous classic Moka pot coffee recipe. It will take only 5-7 minutes to enjoy a cup of bold coffee. And the best part is that you just need ground coffee and hot water to make this. So let’s try this.
Ingredients:
- 18–20g freshly ground coffee (medium-fine grind)
- 150ml hot water
Instructions:
- Boil your water and let it sit for 30 seconds.
- Simply pour the hot water into the bottom chamber, up to just below the safety valve.
- Place the ground coffee into the filter basket; it should be distributed evenly and not pressed down.
- Then you need to screw the pot together tightly and also try to use a cloth to protect your hands.
- Place on the stove over low-medium heat with the lid open.
- Watch for the coffee to rise. It doesn’t take long, maybe only 4–6 minutes.
- Once the stream turns light and the pot starts sputtering, you need to remove it from heat.
- Run cold water over the lower part for a few seconds.
- Your coffee is ready; simply pour it into a cup and enjoy it without delay.

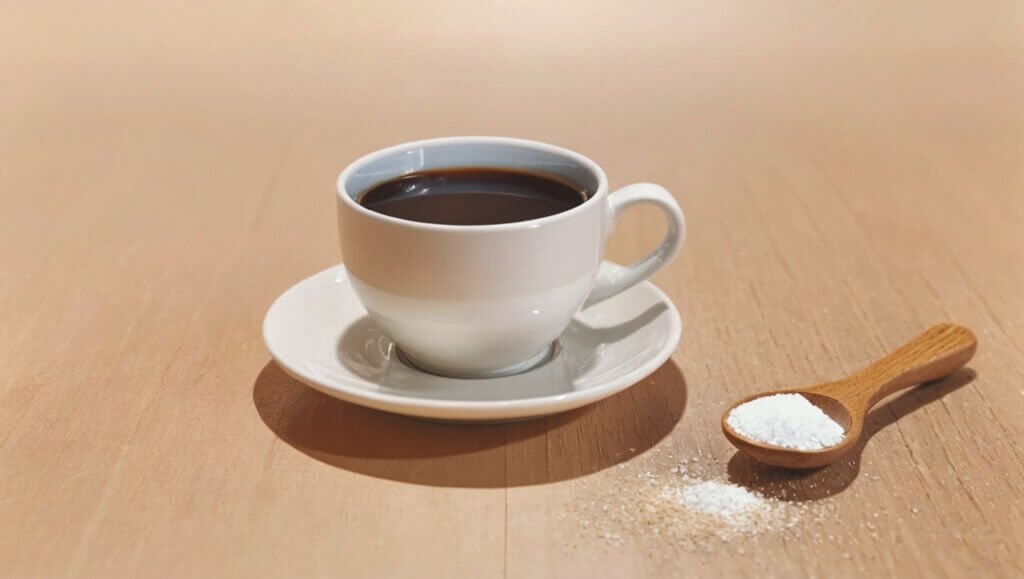
Serving suggestion: Drink it black to taste and enjoy the full flavour of the coffee. If you want, you can add a small amount of warm milk, which will make your coffee closer to a latte. If you prefer a slightly sweet taste, it also tastes great with a little sugar mixed in while it is still hot.
A Few Extra Tips
Here we only share a few tips which will make your Moka pot experience far better. Just try to follow these tips when you are making your morning coffee by using a Moka pot.
Clean it properly: You always need to clean your Moka pot properly. However, you need to be aware of using dish soap inside your Moka pot. This is because it strips the seasoning that builds up over time and can leave a soapy taste. Wash with hot water, separate the parts, and let them air dry.
Don’t overfill the basket: If the coffee is packed too tightly, the flow of water is obstructed and excessive pressure builds up. Therefore, pack it loosely.
Use the right grind: If the grind is too coarse, the coffee will turn out thin and watery. If it is too fine, there is a risk of clogging the vessel and over-extracting the coffee. A medium-to-fine grind is the most suitable.
Season a new pot: This is very important when you are using a new Moka pot. Just run two or three brews through your brand new Moka pot before drinking the coffee. It eliminates the metallic taste of aluminium and helps the gaskets seat properly.

FAQs
Can I make half a pot of coffee in my Moka pot?
No, don’t even try this, since it’s a very important issue. Try to fill the basket completely and the water chamber to the valve line. A partial fill changes the pressure dynamics and results in weak, uneven extraction. We suggest you buy a small Moka pot if you want less coffee.
Can I use pre-ground coffee in a Moka pot?
Yes, you can use pre-ground coffee in your Moka pot. In fact, pre-ground coffee works really well with a Moka pot. The regular freshly ground coffee will always taste better, but pre-ground can be a perfectly excellent choice for your everyday life.
How do I know when my Moka pot needs replacing?
If you notice that the aluminium is pitted, corroded, or discoloured inside, or if the gasket and filter plate are beyond replacement, it is high time you bought a new one. The good thing is that a well-maintained Moka pot can last for decades. However, if your Moka pot smells metallic even after seasoning, or leaks despite a fresh gasket, you need to retire this one.
Final Thoughts
Learning how to use a Moka pot well is one of those small skills that pays off every single morning. Once you dial in the grind, the heat, and the timing, you’ll wonder why you ever waited in line for an overpriced coffee. It’s affordable, sustainable, and genuinely delicious when done right.
So, at the end of the day, our ultimate suggestion for you is just to give it a few tries. Maybe the first brew won’t give you a perfect cup of coffee, but with a few tries, you will master the technique. And one day, the Moka pot will claim its permanent spot on your stovetop.

Hi! I’m Semiul Bennett. After spending so many years in the coffee industry, I’ve developed a deep passion for all things coffee—from the beans to the brewing process. Now, I’m on a mission to help people have a better coffee experience at home and outdoors. Together with my team, we’re here to share expert tips, brewing techniques and the latest coffee trends, so you can enjoy your perfect cup every time.