How To Steam Milk At Home? (Using 3 Different Methods)
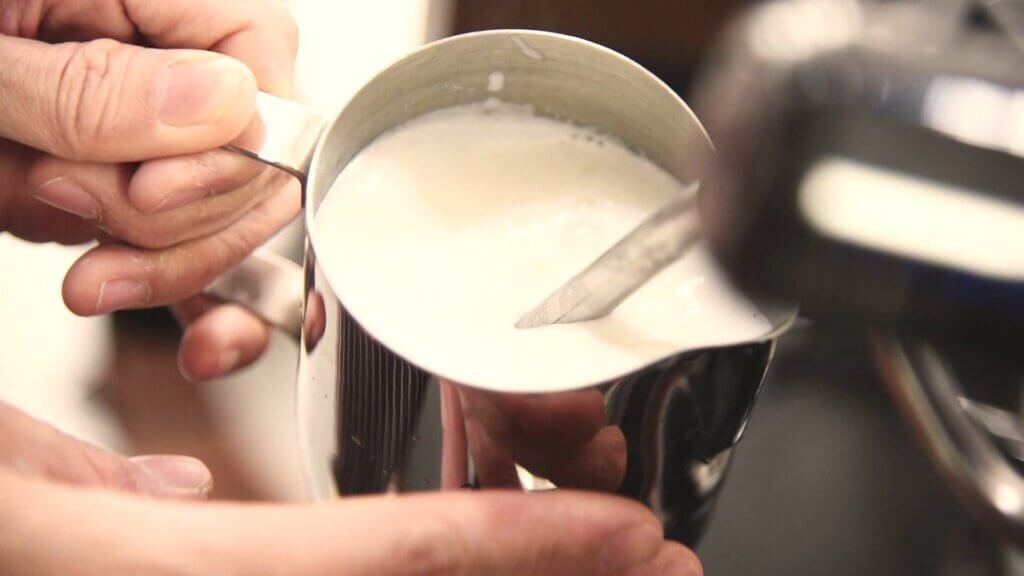
Temperature difference and timing are also some facts. If you can maintain all the tricks, then your steamed milk will be more decadent and creamy. And these textures are a must for any kind of drink to make them rich in taste.
Some people also think that frothed and steamed milk are the same. Some believe that even steaming also requires the boiling process. So, to get the whole idea about steamed milk and its process, take some time to read my article!
What Is A Steamed And Frothed Milk?
Simply to be said, steamed milk is basically thick and contains microfoam, which is delicate. On the other hand, frothed milk is lightweight, not heavy. It contains large, extensive foams that stay in a stable shape.
Frothed milk has more air, but steamed milk doesn’t have that. Their textures are also different. Frothy milk has a silky-foamy texture, and steamed milk has a soft texture.
Even though these two have differences, both are equally good at their role. Most often, these two are combined together to be used.
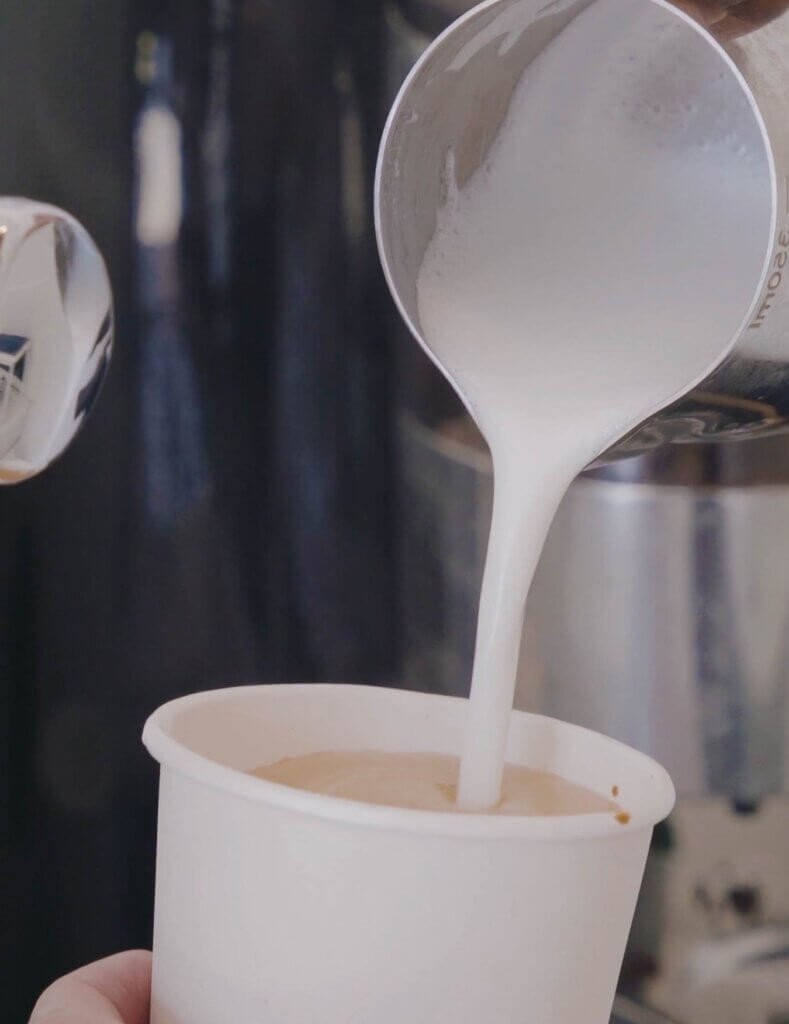
Ideal Temperature For Steaming The Milk
It actually differs according to its process. Milk type, quality, and quantity are also some factors that influence the milk’s steaming. For example, the average temperature is considered to be 65 degrees Celsius or 150 degrees Fahrenheit for full-fat dairy.
For almond drinks, the temperature range is 55-65 degrees Celsius. So, sometimes you need to find out which temperature is best for you.
Process Of Steaming The Milk ( With Steamer)
The steamer is relatively easy to use. But it can be not easy if you don’t know about its methods. Once you have mastered some techniques, you can steam the milk in a steamer effortlessly.
You will need
- A thermometer
- A steamer
- A pitcher
- Milk
Step 1 – Pour The Milk
Take the pitcher which comes up with the steamer. Pour milk into it.
Step 2 – Steam It
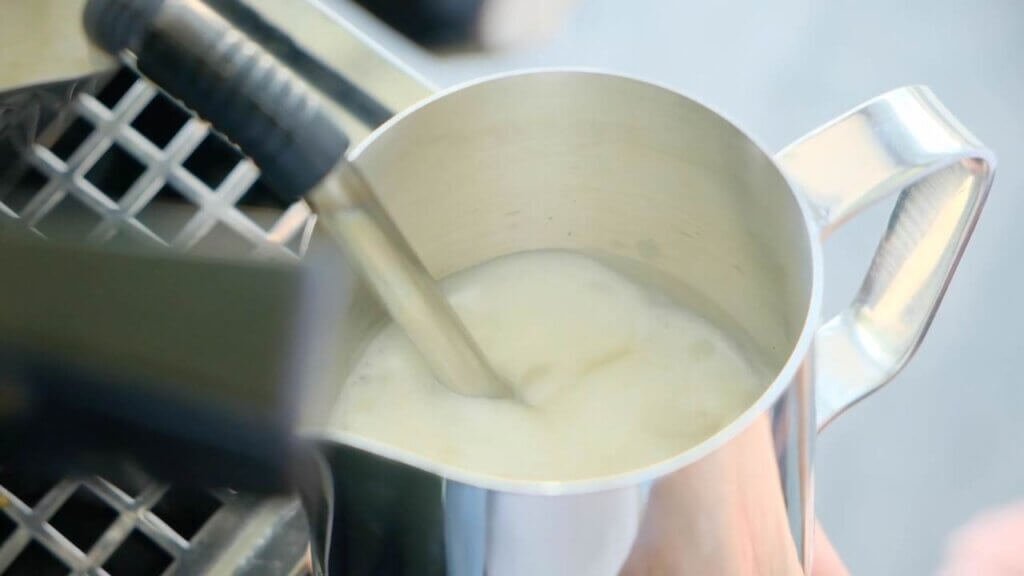
The pitcher, which comes with the steamer, place it under the wand for steaming. Then, place the wand inside the milk. But don’t push the wand fully into the milk at first; just put it right under the surface of the milk.
After 5 seconds of doing it, steadily submerge the wand a little bit deeper into the milk. Slightly bend the pitcher to the right or the left side. Maintain this posture and see if the milk is whirling smoothly.
It will help to create lovely bubbles, and the texture will be velvety, thick, and creamy.

Step 3 – Time To Stop
As I said earlier, the ideal temperature is considered to be 150 degrees Fahrenheit; try to maintain this. If you go above this temperature, it will burn in a bad way.
So, stop the steamer when the temperature has risen to 150 degrees Fahrenheit.
Move the pitcher. Tap the pitcher, but do it gently. This will help to remove bubbles. Now it is ready to use!
Clean the wand with a clean towel after you’ve done your work.
Keep It In Mind:
Always be careful about temperature. Use the wand after cleaning it. When you use the steamer, always clean the wand before using it.
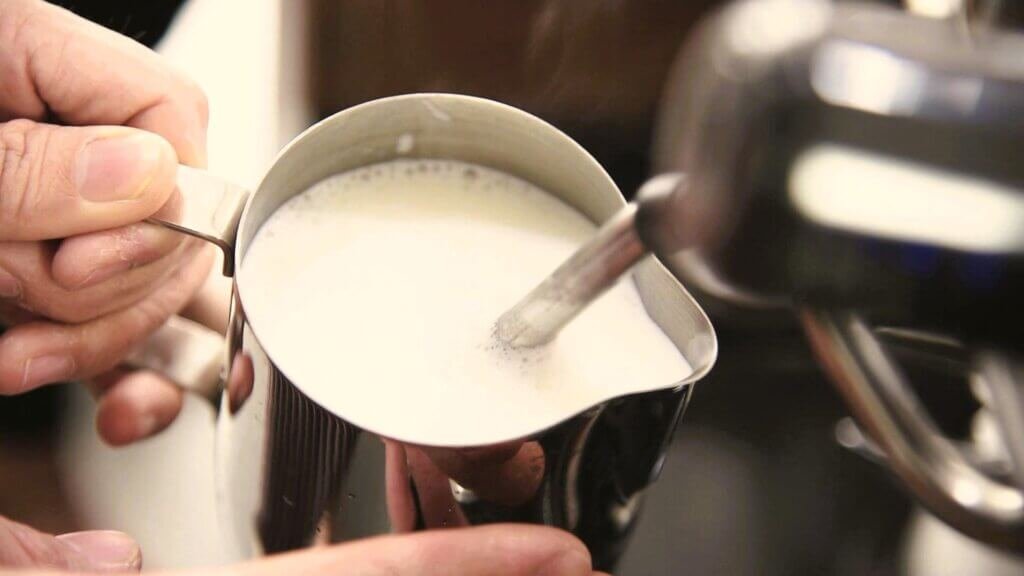
How To Steam Milk Without a Steamer?
There are some other ways to steam milk, even without a steamer.
You will need
- Microwave
- A thermometer
- Milk
- Bottle
- Oven-proof jar or mug
Microwave:
Pour the milk into an oven-proof jar or mug. Don’t fill the mug or jar completely; leave some space from the above.
It will prevent the milk from overflowing. If you do this at the right temperature, it won’t overflow, but that is the difficult part.
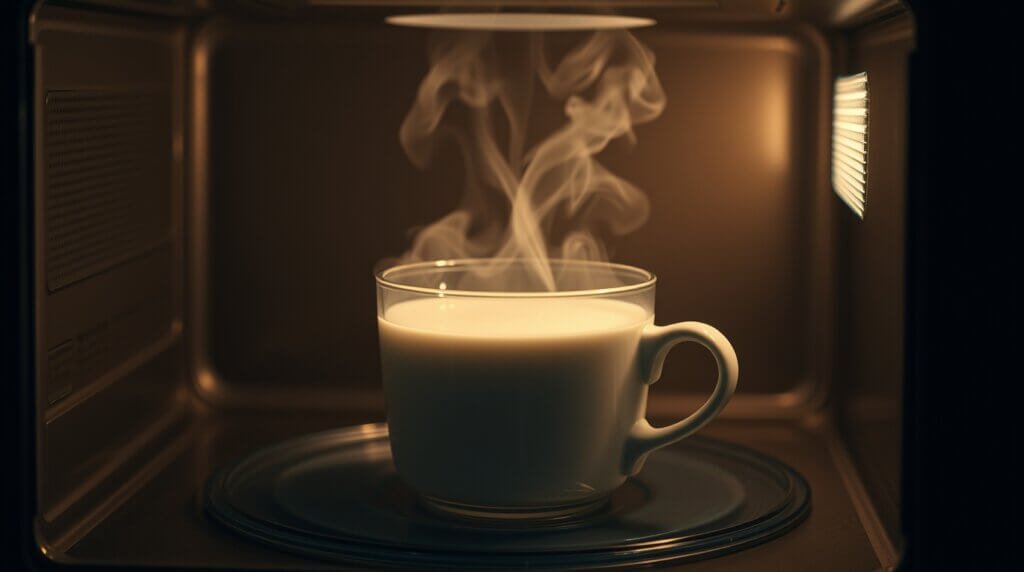
You have to figure out what temperature is right for your product. First, try it out for 30 seconds. If you think it needs more heating, add heat for 15-20 seconds.
Bottle:
To create a bubble, put the milk in a jug with a lid or a bottle before putting it in the microwave. Then, shake the bottle. It will increase the volume of the milk and create microfoam.
After heating it in the microwave, you can do the shake, but doing it before heating is safer.
Stove:
For this, you will need
- Stove
- Spoon
- Milk
- A saucepan
- An electric frother or whisker
- A thermometer
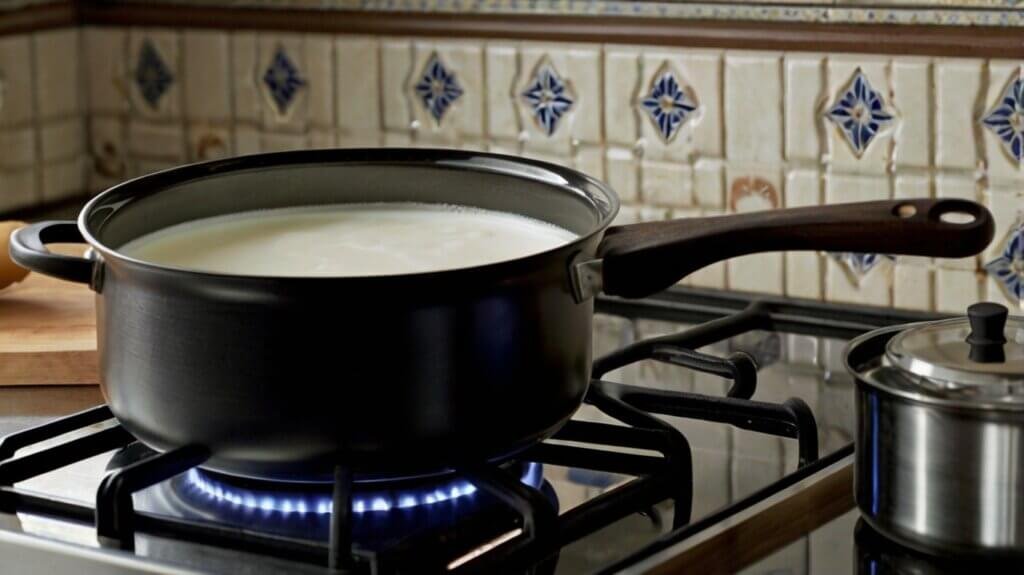
It may be quite difficult to measure the temperature if you are using a stove. In that case, take a thermometer and check the temperature. But some electric stoves might have a thermometer, so you won’t need an extra thermometer.
So, if you are using an electric stove with a thermometer, then set the temperature at 150 degrees Fahrenheit.
First of all, take a saucepan or any pot you want. Pour the milk into it. Put it on the stove and start heating it. It shouldn’t be boiling, but it will simmer. Small bubbles will be created. After the right temperature, stop the stove.
Electric Frother:
Then, to create bubbles like the steamer does, use an electric frother. It will create some light foam. A minute is enough to create these bubbles.
If you want frothy milk, then you have to do it for 2-3 minutes.
Whisker:
Don’t have a frother or French press? Don’t worry—you can use a whisk to create bubbles.
It would be beneficial if you could manage a bowl.
Pour the milk into this bowl. Whisk it until it creates little bubbles. It will take 5-8 minutes.
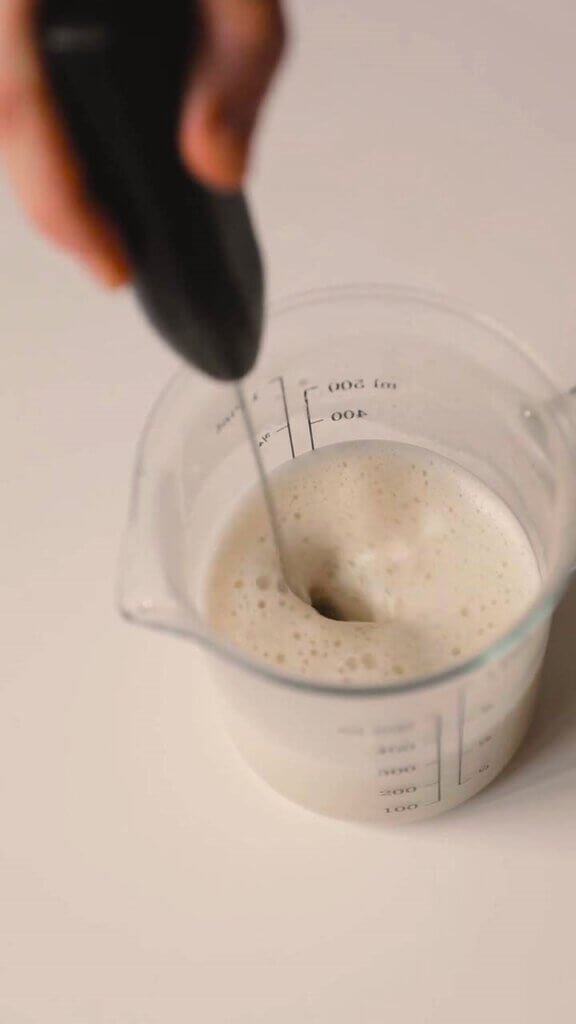
Then you can steam it. Or you can whisk it after you have done heating the milk.
But after heating, the milk will lose its temperature if you start whisking it.
So, do what is best for you. Be careful while whisking it while it’s hot. Because some of the milk may splash outside and burn your hands.
Where To Use?
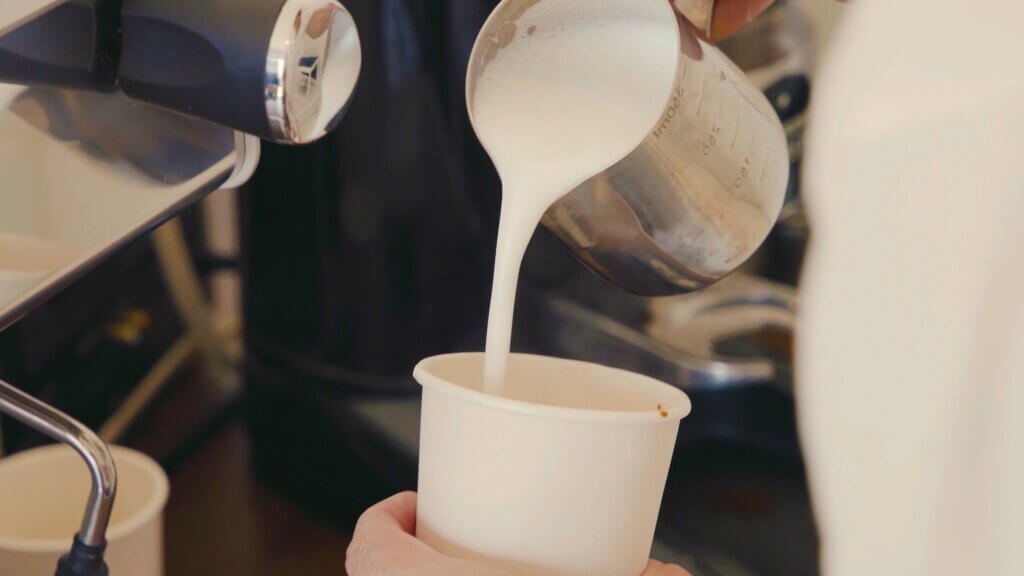
Steam milk can be used for any kind of milk-based drink. Especially for coffee-based beverages like lattes, mochas, cappuccinos, macchiato, etc.
In every drink, the ratios are different.
But that doesn’t matter. Steamed milk makes every drink creamy and rich in taste!
FAQs
What milk is the best for steaming?
Every type of milk has its own benefits and lacks. But in my opinion, 2% milk and oat milk are the best for steaming.
What if I steam the milk at a lower temperature than 150 degrees Fahrenheit?
It may taste bad and will not create enough microfoam.
Why did the milk I boiled feel watery?
It may happen because of insufficient aeration. So, don’t overheat it.
Conclusion
Nowadays, everything is quite handy. A stove, microwave, frother, or other types of machines will work great for milk steaming. If you stay careful about temperature and other additional things, steamed milk will be great to taste.
So, buy what is best for you and try these methods to steam the milk!

Hi! I’m Semiul Bennett. After spending so many years in the coffee industry, I’ve developed a deep passion for all things coffee—from the beans to the brewing process. Now, I’m on a mission to help people have a better coffee experience at home and outdoors. Together with my team, we’re here to share expert tips, brewing techniques and the latest coffee trends, so you can enjoy your perfect cup every time.


